Slide Number in PowerPoint
Recently, I was working on a PowerPoint presentation based on a specific template from a client. As I was about to print the deck, I realized that the slide numbers were missing. As I struggled to figure out how to make the slide number to appear on all the slides, I thought it would be good to share here my experiences. The illustrative screenshots have been taken from PowerPoint 2003. The approach should be similar for more recent versions of PowerPoint.
Configuring the Master Slides
The first step consists in editing your Master slides. Each presentation can have multiple masters. Usually, the masters come in pair:
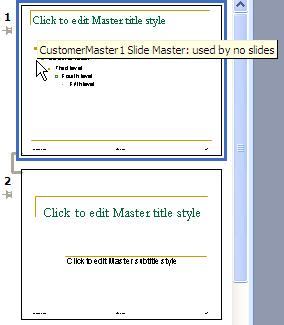
- The slide master is the first slide visible from the preview pan.
- The title master is the second slide visible just below the slide master in the preview pan. The title master is optional.
Hovering the mouse indicates the type of the master. Furthermore, the pair is indicated by an icon connecting the two masters.
These masters come in pair as indicated by the icon joining the two slides
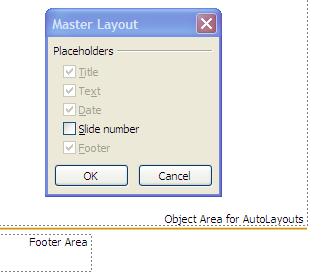
The master slide contains specific areas for the title, the body, the date, the footer, and the slide number. Each of these areas can be moved around. It is always worth checking if all the areas are enabled on the master slide by opening the Master Layout dialog box. This dialog box contains a list of check boxes, one for each area. When checked, he check boxes are disabled, which is a little bit counter intuitive. To hide an area, you have to select it and then delete it. To make an area visible again, open the “Master Layout” dialog and check the related box which should be now enabled.
The Slide Number is enabled, and visible on the master

The Slide Number is disabled, and not visible on the master
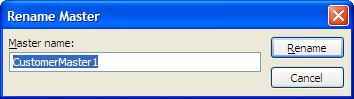
It is always good practice to rename the master slide, especially if your PowerPoint file contains many master models. This comes handy to associate a master model to the slides.
Renaming the Master model
Configuring the Slides
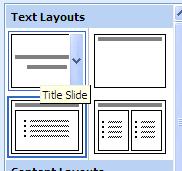
Once the layout areas have been positioned properly or removed, the slides themselves need to configured. Each slide is associated to a design layout and a text layout. The design layout allows choosing which master to apply to the slide. The text layout determines which member of the master pair will be applied (i.e. the slide master or the title master).
Design Layout (CustomMaster1 is selected)
Text Layout (The title master is selected)
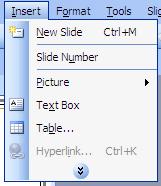
The master contains specific layout areas such as the date or the slide number, these areas need to be activated in the slides. The option is available in the “Header and Footer” dialog, accessible through the menu: “Insert > Slide Number”.
Steps to make the master layout areas appear on the slides
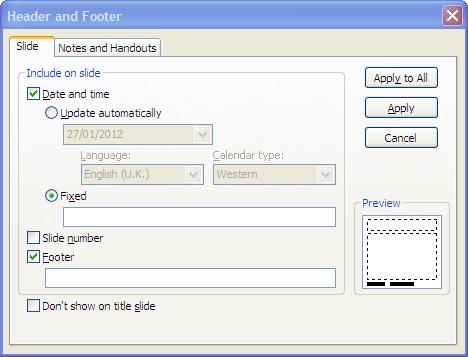
As a consequence, the slide number will be displayed if it has been enabled through the “Slide Number” menu and if the slide number layout area has been made visible in the related master. This dual condition may be a little confusing: the user activates the slide number, but will not see the numbering as it has been disabled in the master.
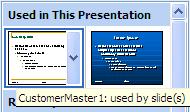
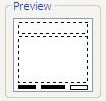
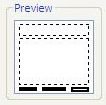
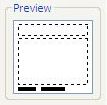
The dialog “Header and Footer” gives however a visual clue using the preview:
| Slide Number: disabled | Slide Number: enabled | |
|---|---|---|
| Slide Number in Master: enabled |
|
|
| Slide Number in Master: disabled |
 |
 |
Understanding the factors contributing to the proper display of slide numbers, for example, allows really to understand key concepts related to themes in PowerPoint.